Cookie preferences

HundrED uses necessary cookies that are essential to use the service and to provide a better user experience. Read more about our cookies.
Accept cookies
search
clear

eTapIt

Game development for comprehensive schools

With the eTapIt concept, the student learns to develop a digital edugame from ideation, to planning content, to implementation. The teacher doesn’t need prior experience in game development in order to carry out the concept.

Finland 100

Overview

HundrED has selected this innovation to

Finland 100

Web presence

2015

Established

-

Children

1

Countries
Updated
March 2017

About the innovation

What is it all about?

Media content and messaging today often includes visual, auditory, written, kinesthetic, and numeric messages. In addition, they can be in digital or analog format. It’s unlikely that this will change significantly in the future.

This is why students will increasingly need multiliteracy skills. The aim of multiliteracy is to develop students' ability to interpret and produce different kinds of messages. Multiliteracy aims to give students an understanding of written text, images, numerical and mathematical information, as well as media and digital texts.

Games are a major multichannel consumer target. Being able to analyze, develop, evaluate messages included in games and to create game content are all useful skills to have right for both today’s and tomorrow’s world.

Making games is a contemporary way of learning by doing. Making a game from start to finish requires, at best, skills from several subjects such as math, language, literature, arts and crafts. In the eTapIt concept, the development of multiliteracy skills is supported through game development.

The eTapIt concept is simple and won’t require any prior experience in game development from teachers. For more experienced teachers and students, the concept offers more challenging paths, such as the use of more advanced gaming platforms.

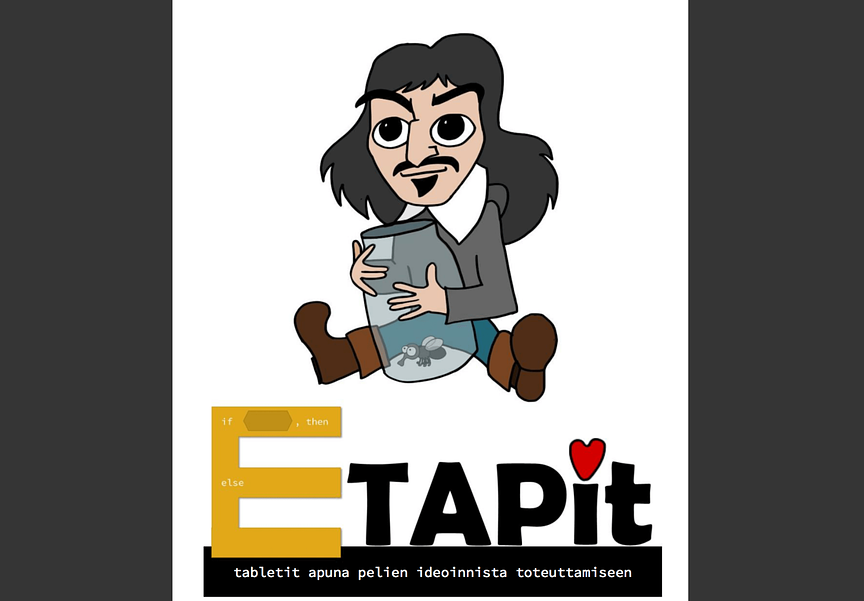
eTapIt consists of four phases:

(1) Getting to know different types of games and their structure,

(2) Creating the game concept and the game character,

(3) Planning the game and game character

(4) Implementing eTapIt

Designing, planning and implementing the game and game character is done on tablets or computers. The game character is then finalized with the technology chosen by students.

Impact & scalability

Impact & Scalability

Innovativeness

Developing multiliteracy skills by creating a game combines skills needed in many different subjects.

Impact

Students will learn many of the skills needed in the future through one innovation, preparing them for future job markets.

Scalability

Game design is powered by the students' own creativity and the tools used are relatively inexpensive.

Implementation steps

Preparations
Assemble a team of teachers.

The team should have a good knowledge of mathematics, language, literature, visual arts, and crafts. Other subjects may also be included if needed.

Begin with a planning meeting and by dividing responsibilities.

You could divide the responsibilities as follows:

  • Maths: Getting acquainted with games, programming environments, and game programming


  • Language and literature: planning the game storyline


  • Arts: sketching and drawing the game character and converting it into vector graphics


  • Crafts: modeling the game character in 3D


Introduction
Introduce your students to the game industry and the different professions within it.

At the same time, you can give students an idea of what you will be doing and learning in different subjects during the game development.

You can use game development websites as a source of information. You may also want to invite a game industry professional to talk about their work. If you wish, you can also use the Neogames 2016 report.

Self-assessment along the way
Introduce a form for continuing self-assessment from the very beginning.

The purpose of the form is to get the student to reflect on their work in the project and its various phases. Clearly communicate and record the targets for each student at each stage in the process, where you can review how they’re doing along the way.

Getting to know games
Familiarize yourselves with different types of games and their structure.

Consider everything that’s needed in creating a game and go through the basic elements of games such as concept, storyline, goals, rules, prizes, and aesthetics.

Reserve about one to two hours for this phase, for example, in a math or art class.

Conception of the game and game character
Next, the game, game character and other game graphics are planned and designed.

First figure out the game concept and its target audience. Reserve about 1-2 hours in a lesson for this phase. You can use the following questions to help you get started:

The game’s concept and target group:


  • What are your interests? Make a list. Think about things like hobbies, animals, music, or other things that interest you. Select three of them to share with others or teach others about.


  • What would you like to teach about them?


  • What kind of game could help someone else learn these things?


  • Who do you think the game is intended for? Who could learn these things through playing the game?


Character:


  • What kind of characters could you have in your game?


  • What does the character do in the game?


  • What does the character look like?


  • What size is the character?


  • What is the character wearing?


Designing the game allows students to unleash their creativity. Creating the game and the game character require skills in many different subjects.

You could reserve time for game and game character design as follows:


  • 1-2 hrs for game design in math classes


  • 1-2 hrs for game graphics and game design in art classes


  • 2 hrs for writing the storyline of the game during language and literature classes


  • 2 hrs for game character design in crafts classes


  • 1-2 hrs for game content design (e.g. language classes)


Remember that the character should be drawn from front, side, and back!

Making the game and game character
It's time to put plans into practice.

The most fun bit from the students’ point of view is to see how the designed characters are brought to life by moving them into the game environment.

You can proceed as follows:

2–6 hours for implementing game characters and other game graphics in art classes


  • Create the game character directly in the programming environment.


  • Draw the outline of the game character on paper, scan the drawing, and convert it to vector graphics, for instance in Inkscape.


  • Create the game character as a minimalistic pixel graphic, for example, on iPad in Dottable.


  • The platforms are easy to use and each application has their own instructions.


1–2 hours for getting to know the game programming environment

  • Scratch and Tynker are easy graphical programming environments for beginners.


3–12 hours for writing the code of the game


  • You can use predefined templates for coding the game. If you have students who have advanced skills, they can start from scratch. You can find game templates from Scratch, ScratchJr, and Tynker.


  • The game can also be coded from the very beginning with the help of a teacher.


1–2 hours for testing

4–20 hours for creating the character during crafts lessons

  • The game character can be created based on drawings made in art class. The student can choose the technique with which to create the character.

Remember these!

  • It’s a good idea to use some ready game templatesbecause the students' visions and skills are not completely free of limitations. However, the students can develop the game templates further according to their skills.


  • Also, be sure to have enough time to test the games. It’s an important part of the learning process for the students to test and evaluate each other’s games.


Spread of the innovation

loading map...